
This step-by-step guide aims to help digital watch enthusiasts calibrate the timekeeping accuracy of their timepieces. Whether you own a vintage model or simply appreciate the retro charm of digital watches, this guide will provide you with easy-to-follow instructions on how to ensure your watch keeps accurate time.
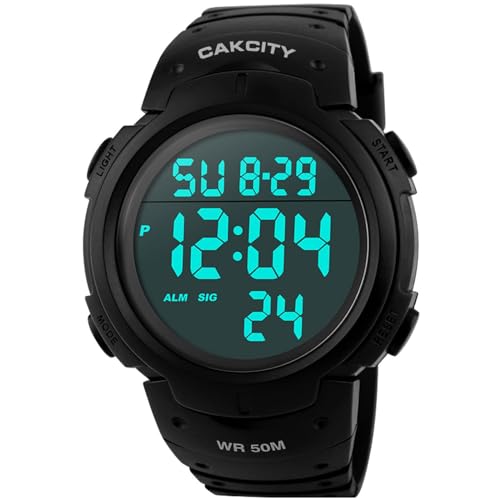
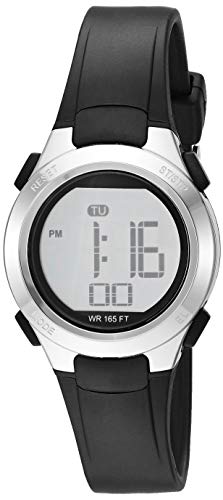
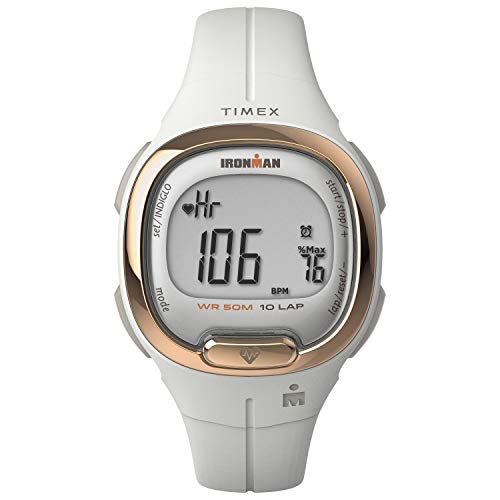
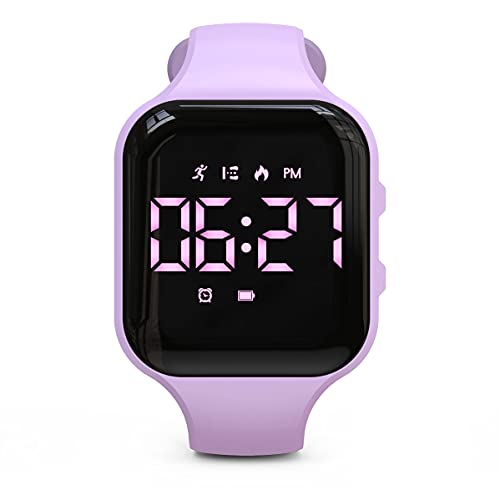
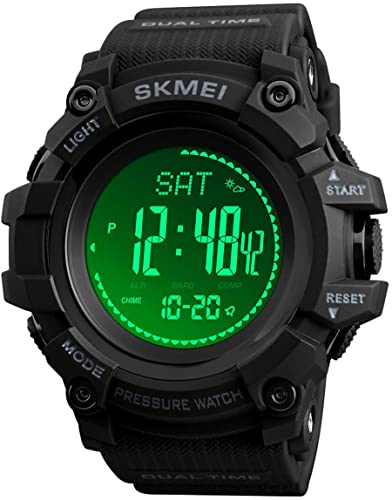
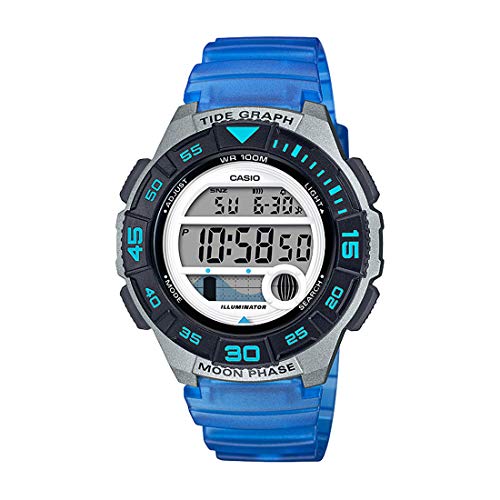
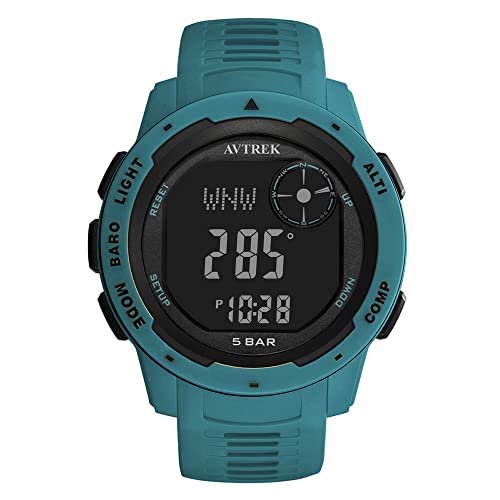
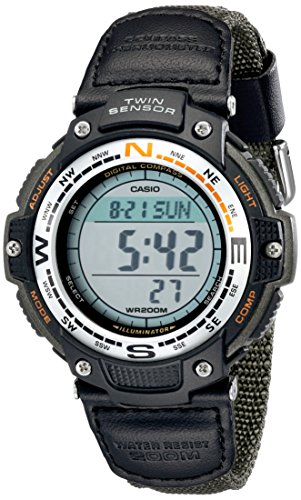
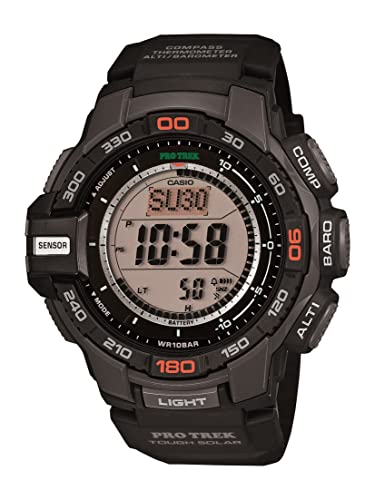
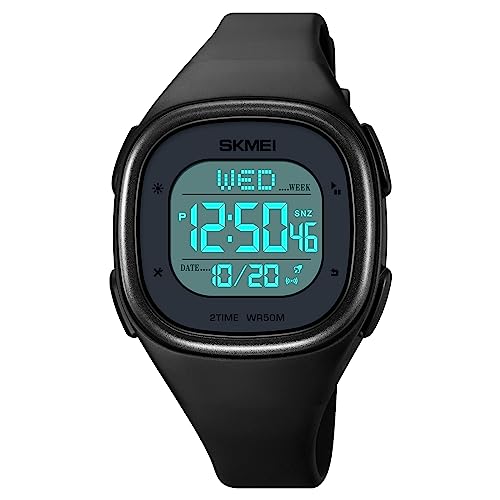
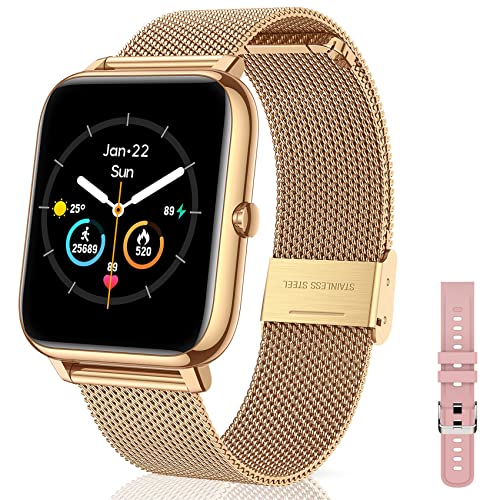
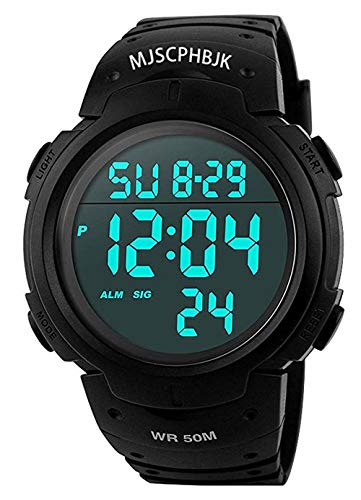
Retro-Era Digital Watch Favorites


Step 1: Understand the watch features
Familiarize yourself with the various functions and buttons on your digital watch: To effectively utilize your digital watch, it is crucial to familiarize yourself with its different functions and buttons. Begin by examining the watch face to identify the different display features such as time, stopwatch, alarm, date, and backlight. Locate the buttons or knobs on the side of the watch and understand their respective functions. Typically, one button is used for scrolling through different settings or options, while another might be designated for selecting or adjusting those settings. Refer to the instruction manual for your specific watch model to determine the purpose of each button and function. By understanding the layout and functionality of your digital watch, you will be able to navigate through the settings with ease and make necessary adjustments whenever required.

Step 2: Enter the time setting mode
- Locate the button or combination of buttons: Look at the watch and identify the button or buttons that will enable you to access the time setting mode. These buttons are typically labeled with symbols like “SET” or “Mode.” If you are unsure, consult your watch’s manual for specific instructions.
- Press or hold the designated button(s): Once you have identified the button(s), press or hold it according to the instructions provided. For example, press the “SET” button once, or hold down the “Mode” button for a few seconds. This action will initiate the time setting mode on your watch.
- Observe the display: Pay attention to the display on your watch as it enters the time setting mode. Many watches use visual indicators, such as flashing digits or blinking icons, to signify that you have entered this mode successfully. Take note of these indicators to confirm that your watch is now ready to be set.
- Refer to the manual if needed: If you are unfamiliar with how to access the time setting mode or if you encounter any difficulties, consult your watch’s manual for further guidance. The manual will provide detailed instructions specific to your watch model and can help you successfully enter the time setting mode if you are still unsure.
Remember, accessing the time setting mode may vary depending on the brand and model of your watch. Following these general instructions will assist you in locating the correct button(s) and entering this mode, allowing you to set the time accurately.
Step 3: Sync the watch with a reliable time source
- Use a reliable time source: Determine the accuracy of the current time by using a reliable time source such as an atomic clock or your smartphone. These sources are known for their precision and can provide an accurate reference time for your watch.Example: Open a time-syncing app on your smartphone or visit a reliable time-syncing website on your computer to find the current accurate time.
- Note the time difference: Compare the time displayed on your watch with the reference time obtained from the reliable source. Take note of the time difference to understand how far off your watch is from the accurate time.Example: If your watch shows 10:00 AM and the atomic clock on your smartphone indicates 10:05 AM, there is a time difference of 5 minutes between them.
- Adjust your watch: Depending on the features of your watch, you can manually adjust the time or use built-in synchronization options to set the accurate time.Example: If your watch has manual adjustment, pull out the crown (the dial on the side of the watch) to access the time-setting mode. Turn the crown clockwise or counterclockwise to move the hour and minute hands to match the accurate time.
- Verify synchronization: Double-check if your watch is now in sync with the reliable time source by comparing their time displays once again.Example: After adjusting the time, compare the display on your watch with the reference time on your smartphone or computer. If both show the same time, your watch is now synchronized.
Remember, syncing your watch with a reliable time source ensures accuracy and allows you to rely on your watch for precise timekeeping.

Step 4: Adjust the watch time
To adjust the time on your watch, start by entering the time adjustment mode. Refer to your watch’s manual for specific instructions on how to do this, as it may vary depending on the model. Once you’re in the time adjustment mode, use the buttons on your watch to make the necessary changes. Typically, there will be separate buttons to adjust the hours, minutes, and seconds. Press the button corresponding to the part of the time you want to change, and then use the other buttons to increase or decrease the value. Keep making adjustments until the time displayed on your watch matches the current correct time. Be sure to press any confirmation or exit button to save the changes and exit the time adjustment mode.
Step 5: Test the accuracy
After making the necessary adjustments to your watch, it is important to test its accuracy by comparing the displayed time with a reference time source. Start by accessing a reliable timekeeping device, such as an online atomic clock or a radio-controlled clock. Note the exact time displayed by the reference source.
Next, carefully compare the time shown on your watch with the reference time source. Pay close attention to any differences between the two times. If your watch is ahead or behind the reference time, you will need to make further adjustments.
To make further adjustments, refer to the user manual or instructions provided by the manufacturer of your watch. Typically, there will be specific directions on how to adjust the time and ensure accuracy. Follow these instructions precisely to fine-tune your watch’s timekeeping.
Once you have made the necessary adjustments, it is essential to test the accuracy again by comparing it with the reference time source. Repeat the process of comparing the two times and note any remaining discrepancies.
If your watch is now accurately synchronized with the reference time source, you can proceed confidently knowing that your watch is displaying the correct time. However, if there are still discrepancies, you may need to repeat the adjustment process until your watch consistently matches the reference time.
By following these steps and performing regular accuracy tests, you can ensure that your watch is always keeping time accurately and reliably.

Step 6: Fine-tune the accuracy
To fine-tune the accuracy of your watch, take advantage of the fine-tuning mode available in some models. This mode allows you to make smaller adjustments, resulting in improved timekeeping precision. To begin, locate the fine-tuning feature on your watch. Consult the user manual or look for specific button functions on the watch’s interface.
Once you have located the fine-tuning mode, activate it by pressing the appropriate button or following the on-screen prompts. This will bring up a sub-menu or display that enables you to make adjustments. Use the controls provided, such as buttons or a rotating crown, to make incremental changes to the timekeeping function.
To achieve greater accuracy, move the watch’s hands or change the digital time display in small increments. Observe the changes on the watch display or face as you make adjustments. Keep testing the accuracy by comparing the time on your watch to a trusted reference clock or time source.
Continue making precise adjustments until you are satisfied with the accuracy of your watch. Remember to save any changes you make in the fine-tuning mode, as some watches require manual saving. Once you’ve completed the process, exit the fine-tuning mode and enjoy the improved accuracy of your timekeeping.
Ensuring precise time calibration
In conclusion, calibrating the timekeeping accuracy on a digital watch is a simple process that can greatly enhance its reliability. By following the steps outlined in this guide, you can ensure that your watch keeps accurate time. Remember to synchronize with a reliable time source, adjust the time zone settings if necessary, and regularly check the accuracy to maintain optimal performance. With these tips, you can enjoy the convenience and efficiency of a properly calibrated digital watch.
Accuracy Calibration Tips
Guide to Adjusting Watch Timing – Regulation
Operating Instructions for Vintage-Inspired Digital Timepieces
- Set the time: Locate the “mode” or “setting” button on the watch and press it to enter the time-setting mode. Use the designated buttons (usually labeled as “up” and “down”) to adjust the hours and minutes until the correct time is displayed. Press the “mode” button again to confirm and exit
- Explore additional features: Many digital watches with retro appeal come with various features such as alarm, stopwatch, timer, and backlight. Refer to the user manual or online resources to learn how to access and utilize these functions. Typically, you can switch between different features by pressing the “mode” button multiple times
- Activate the alarm: To set the alarm, enter the alarm mode by pressing the “mode” button until you reach the alarm function. Adjust the desired time for the alarm using the designated buttons. Once set, press the “mode” button to save the alarm time. To activate or deactivate the alarm, look for a dedicated button labeled either “alarm on” or “alarm off
- Use the stopwatch: Switch to the stopwatch mode by pressing the “mode” button until you reach this function. Start and stop the stopwatch by pressing the corresponding button, typically labeled as “start/stop.” To reset the stopwatch to zero, look for a button labeled “reset” or “clear
- Activate the backlight: If your digital watch has a backlight function, locate the designated button, usually labeled as “light” or with an icon resembling a lightbulb. Press this button to illuminate the watch face, making it easier to read in low-light conditions
- Remember that specific instructions may vary depending on the digital watch model, so always refer to the user manual that comes with your particular timepiece for more detailed guidance