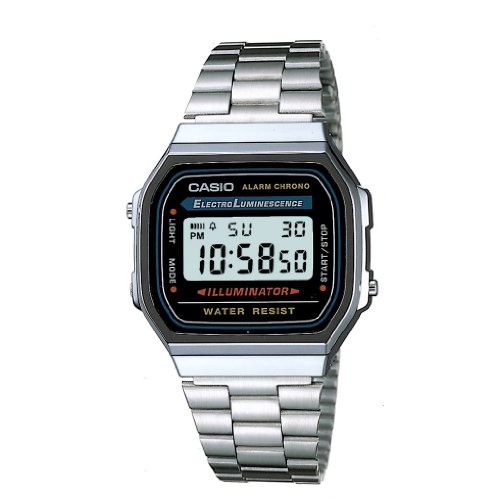
Are you a vintage watch enthusiast who wants to restore faded or damaged dials and hands? Our step-by-step guide is here to help you revive the beauty and history of these cherished timepieces. With empathy for your passion, we offer a clear and concise roadmap to assess and restore vintage watch dials and hands, ensuring you can enjoy their unique design for years to come.
Timeless timepieces for every collector


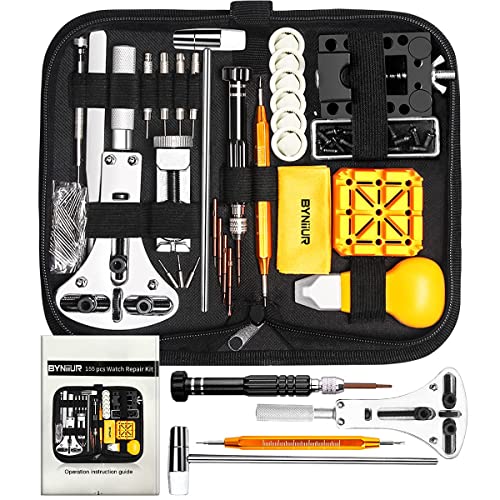
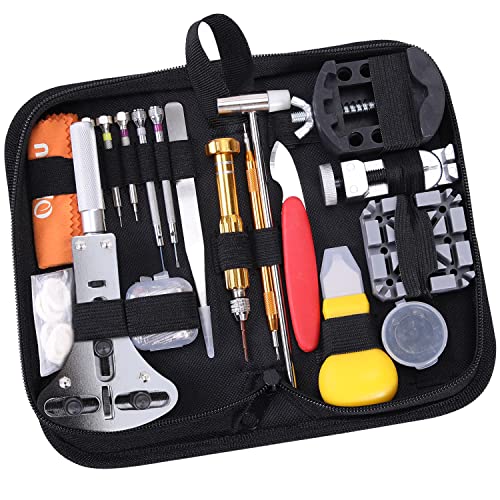
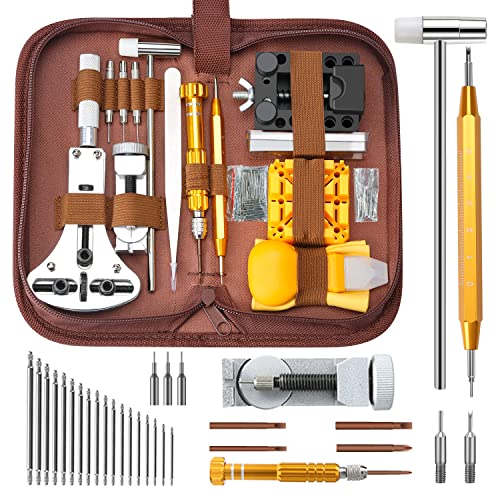
Gather necessary tools and materials
- Prepare the workspace: Clear a clean and well-lit area where you can comfortably work on the restoration process. Make sure the surface is smooth and free from any debris or objects that might interfere with your work.
- Collect solvents: Depending on the type of restoration project, you may need specific solvents to help remove dirt, grime, or adhesive residue from the item. Gather the appropriate solvents, such as isopropyl alcohol, acetone, or a specialized cleaning solution, as recommended for your particular restoration task.
- Polish and abrasives: Prepare a selection of polish and abrasives suitable for your restoration project. This may include polishing compounds, such as jeweler’s rouge, chrome polish, or metal polish, as well as fine grit sandpaper or abrasive pads for smoothing out imperfections.
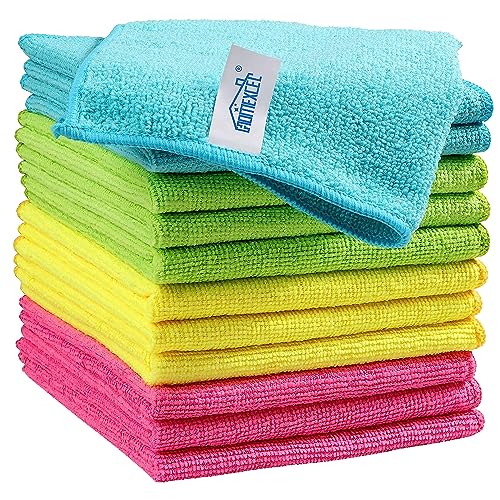
- Get brushes and tweezers: Acquire a variety of brushes with soft bristles to clean delicate surfaces and remove loose particles. Additionally, have a set of tweezers or small pliers to help manipulate and position small parts during the restoration process.
- Magnifying glass or loupe: Have a magnifying glass or loupe handy to examine details and identify any potential damages or imperfections that might require attention during the restoration.
Remember, gathering all the necessary tools and materials beforehand will allow you to work efficiently without interruptions.

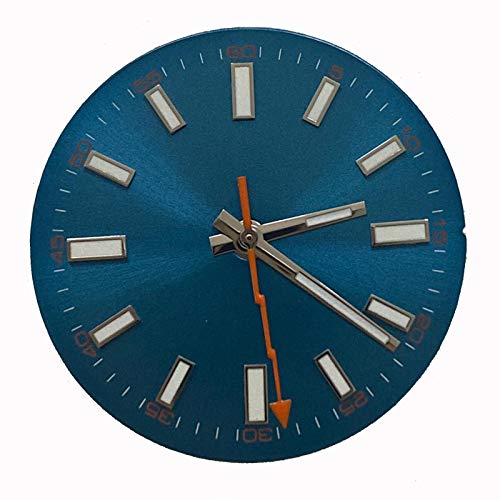
Assess the condition of the dial and hands
Carefully examine the dial and hands for any signs of damage. Start by closely inspecting the dial for cracks, scratches, or discoloration. Look for any areas where the dial may have been chipped or damaged, such as around the hour markers or the edges of the dial. Similarly, inspect the hands of the watch for any signs of wear or damage. Check if the hands have any scratches, bent parts, or if the luminous material is uneven or faded. Pay close attention to the edges of the hands, as they can often show signs of wear and tear.
For example, if you notice a small crack near the 6 o’clock marker on the dial, make a note of it. Similarly, if you see scratches on the minute hand near its tip, mark down the precise location. By examining the dial and hands in detail, you can effectively assess the condition of your watch and identify areas that require restoration.


Clean the dial and hands
To clean the dial and hands of your watch, follow these simple steps:
- Prepare the cleaning solution: Use a gentle solvent suitable for watch cleaning. Avoid harsh chemicals that may damage the delicate parts. Make sure to follow the manufacturer’s instructions for dilution if necessary.
- Dip the soft brush: Take a soft-bristle brush and dip it into the cleaning solution. Ensure that the brush is only lightly moistened, not soaked with the solvent.
- Gently brush the dial: With gentle, circular motions, brush the dial of the watch. Pay close attention to any visible dirt or debris. Be cautious not to apply excessive pressure that could potentially cause damage to the dial or hands.
- Brush the hands: Next, delicately brush the hands of the watch. Take care to clean all the intricate details and ridges of the hands, removing any dirt that may have accumulated over time.
- Remove excess solvent: Once the dial and hands are clean, use a soft, lint-free cloth to carefully wipe away any excess solvent and moisture. This will ensure a clean surface for further restoration.
Remember to take your time and be gentle when cleaning the dial and hands of your watch. Rushing or applying too much pressure can lead to irreparable damage.


Repair any damages
To repair cracks or scratches on the dial or hands of your timepiece, follow these steps for a successful repair. First, gently clean the area around the damaged part using a soft cloth or brush to ensure a clear working surface. Next, assess the severity of the cracks or scratches. For minor cracks, you can use a small amount of clear epoxy or watch crystal adhesive to fill in the gaps. Apply it carefully with a toothpick or a small spatula, making sure not to get any excess adhesive on the surrounding areas. Allow the adhesive to dry completely before moving on to the next step.
For deeper scratches, use a polishing compound specifically designed for watch crystals. Apply a small amount of the compound onto a soft cloth and gently rub it in a circular motion over the scratched area. Continue this process until the scratches become less noticeable or disappear entirely. If the scratches are too deep, you may need to consider replacing the dial or hands altogether.
In some cases, damaged components like cracked or broken hands may need to be replaced. To replace hands, you will need to locate the appropriate replacement parts for your specific watch model. Using a hand removal tool or a pair of tweezers, carefully lift the damaged hand from the dial. Place the new hand into position, aligning it with the hour markers. Gently press it down, ensuring a secure fit.
Remember, take your time and be patient throughout the repair process. Rushing can lead to further damage or imperfect repairs. By following these instructions and applying best practices, you can restore the dial and hands of your watch to their former glory.

Restore the original design
Apply a Suitable Polish or Paint
- Gather a suitable polish or paint that matches the color and style of the vintage watch.
- Clean the dial and hands thoroughly to remove any dirt or grime using a non-abrasive cleaner.
- Using a small brush or applicator, apply a thin layer of polish or paint onto the dial and hands.
- Ensure the polish or paint is spread evenly and smoothly, avoiding any clumps or drips.
- Take care to stay within the original design lines and shapes, maintaining the integrity of the watch’s aesthetics.
- Allow sufficient drying time as specified by the polish or paint manufacturer. This is typically around 24 hours.
- If necessary, make any touch-ups once the initial layer has dried. Use a fine-tip brush or applicator for precision.
- Assess the final result, ensuring that the dial and hands now appear restored to their original design.
Following these steps will enable you to apply a suitable polish or paint to restore the original design of the watch’s dial and hands. Take care to match the color and style accurately, allowing for a seamless restoration that enhances the vintage charm.


Protect and preserve the restored dial and hands
Apply a protective coating or finish to safeguard the restored dial and hands from future damage. Start by selecting a suitable varnish or clear lacquer that is compatible with the materials of the dial and hands. Follow the manufacturer’s instructions regarding application and curing time.
Prepare the dial and hands by ensuring they are clean and free from dust or debris. Using a soft brush or a lint-free cloth, gently remove any surface particles that may interfere with the adhesion of the protective coating.
Apply a thin, even layer of the selected varnish or clear lacquer onto the dial and hands. Use a small paintbrush or a soft, lint-free cloth for application, making sure to cover the entire surface evenly. Avoid excessive application, as it may result in uneven drying or the formation of bubbles.
Allow the protective coating to cure completely according to the manufacturer’s instructions. This usually involves letting it air dry for a specific period of time. Avoid touching or disturbing the dial and hands during this curing period to ensure a smooth and flawless finish.
Once the protective coating has fully cured, inspect the dial and hands for any areas that may need additional touch-ups. If necessary, apply another thin layer of the protective coating and allow it to cure again.
By applying a protective coating or finish, you will help guard the restored dial and hands against potential damage, such as scratches, discoloration, or oxidation. This simple step will contribute to the long-term preservation of your precious timepiece.
Summary of Restoration Techniques
In conclusion, assessing and restoring vintage watch dials and hands can be a rewarding process that allows you to breathe new life into these timeless pieces. By taking the time to carefully evaluate and restore them, you can ensure that their beauty and value are maintained for years to come. Remember to approach the task with patience and caution, and you’ll be amazed at the results you can achieve.
Necessary Equipment