
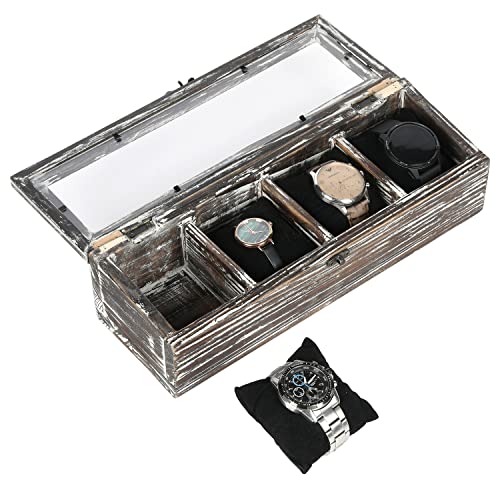
This step-by-step guide provides clear instructions on how to assemble a watch box. With this guide, you will be able to easily and efficiently assemble your watch box, ensuring that your valuable watches are protected and displayed in an organized and safe manner.
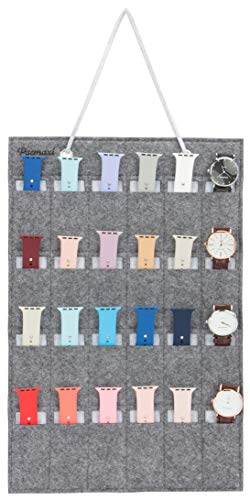
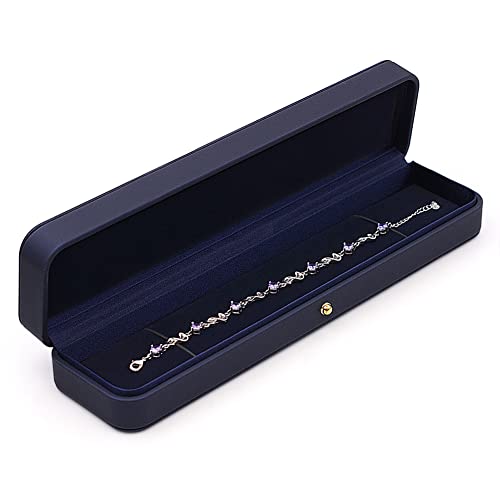
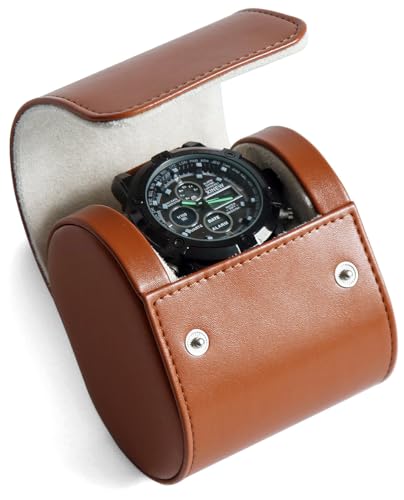
Top-rated watch storage solutions


Gather the necessary materials
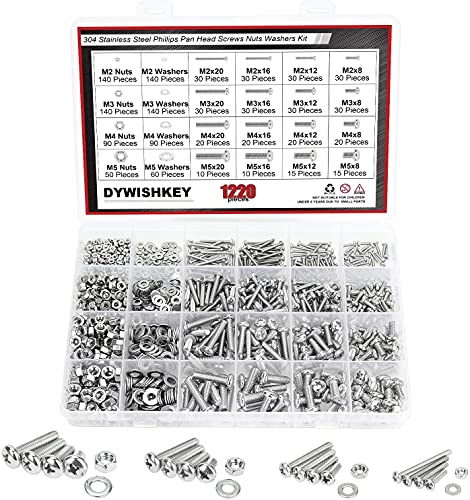
Before you start assembling your watch box, gather all the necessary materials. First, ensure you have the watch box kit, which generally includes wooden pieces, hinges, screws, and other required hardware for assembly. Check that you also have a screwdriver, wood glue, and sandpaper on hand. These tools will be essential throughout the assembly process. Having all the necessary materials ready will make the assembly smoother and more efficient.

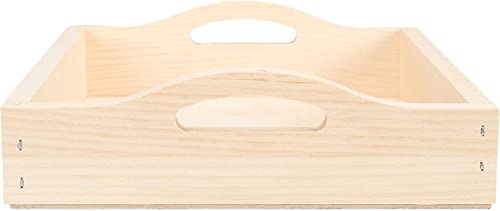
Prepare the wooden pieces
Inspect the wooden pieces included in the watch box kit to ensure there are no defects or damages. Carefully examine each individual piece, looking for any cracks, chips, or splinters that may affect the quality or functionality of the final product. For example, check the corners of the box and the slots for the watch bands, ensuring they are smooth and well-defined.
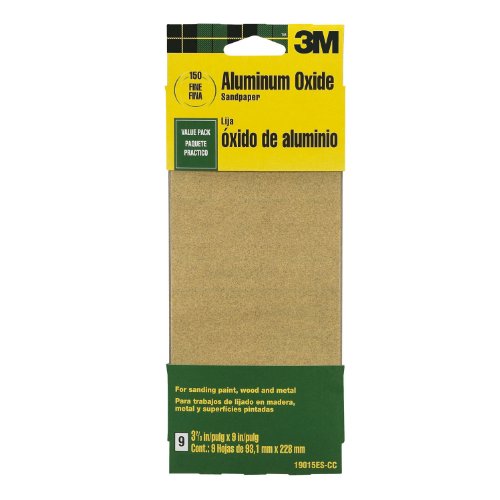
If you come across any rough edges or surfaces, it is necessary to sand them down. Take a sheet of fine-grit sandpaper, such as 150 to 180 grit, and gently rub it against the rough areas to create a smooth and polished finish. Remember to apply even pressure and make steady motions, following the natural grain of the wood. This will guarantee a professional and flawless appearance to your watch box.
To further enhance the aesthetic appeal and durability of the wooden pieces, consider applying a coat of finish or paint. A clear varnish or oil finish can bring out the natural color and grain of the wood, adding a touch of elegance to your watch box. Alternatively, you may choose to paint the wooden pieces in a color that suits your personal style or complements the room where the watch box will be displayed. Before you begin, ensure the sanded surfaces are clean and free from any remaining dust or debris. Apply the finish or paint using a brush or a sprayer, following the manufacturer’s instructions and allowing sufficient drying time between coats.
Taking the time to inspect, sand, and finish the wooden pieces will not only prevent any defects or damages from affecting the functionality of your watch box but also ensure a visually appealing and long-lasting final product.


Assemble the main structure
To assemble the main structure of the watch box, follow these clear and easy-to-follow instructions. Start by attaching the side panels to the back panel. Apply wood glue along the edges of the side panels and place them against the back panel, ensuring that they are aligned properly. Once in position, use screws to secure the panels together. For example, insert a screw into each corner of the panels, making sure to drill them straight to avoid any misalignment. Repeat this step for all four corners.
Next, move on to attaching the bottom panel. Apply wood glue along the bottom edges of the side and back panels. Position the bottom panel on top of the glued edges, aligning it accurately. Secure it by inserting screws into the corners and along the edges, as done previously. For instance, place a screw in each corner and additional screws evenly spaced along the sides for added stability. Make sure the screws are tightened firmly, but be cautious not to overtighten as it may damage the wood.
By following these instructions, you will successfully assemble the main structure of the watch box.


Install the hinges
Install the hinges:
- Take the lid of the watch box.
- Position the hinges evenly along the back edge of the lid.
- Use screws to secure the hinges in place. Make sure they are tightly fastened.
- Test the movement of the lid by opening and closing it. The lid should move smoothly without any resistance.
- If the lid does not open or close smoothly, check the alignment of the hinges and adjust if necessary.
- Once you are satisfied with the movement of the lid, ensure that all screws are tightened securely.


Add the dividers and cushions
Insert the dividers included with your watch box into the main structure. These dividers will help create separate compartments for your watches, keeping them organized and protected. Adjust the dividers as necessary to accommodate the size of your watches. Next, place cushions or watch holders inside each compartment. These cushions will provide a soft and secure surface for your watches, preventing them from moving around and getting scratched. Ensure that each watch is firmly placed on a cushion before moving on to the next compartment. By following these simple steps, you can effectively add dividers and cushions to your watch box, keeping your watches safe and well-organized.
Finishing touches
- Inspect the assembled watch box for any loose screws or parts.
- Check all screws and ensure they are securely fastened.
- If any screws are loose, use a screwdriver to tighten them.
- Examine each compartment to make sure there are no loose parts.
- Clean the watch box to remove any dust or debris.
- Use a soft cloth or brush to gently wipe down the inner and outer surfaces of the box.
- Pay attention to the corners, edges, and grooves where dirt may accumulate.
- Ensure the watch box is completely dry before proceeding.
- Finally, place your watches inside the compartments.
- Open each compartment and carefully position your watches inside.
- Arrange them in a way that protects the watches from scratching or touching each other.
- Close the compartments securely to keep the watches in place.
- After placing your watches, take a moment to admire your newly assembled watch box.
- Enjoy the satisfaction of having a clean and organized storage solution for your timepieces.
Final Thoughts
In conclusion, assembling your own watch box is a rewarding and satisfying task. Not only does it allow you to showcase your watch collection, but it also ensures they remain protected and easily accessible. With the step-by-step guide provided, you can confidently create a watch box that is both functional and aesthetically pleasing. So go ahead, gather your materials and enjoy the process of creating a personalized watch box that reflects your style and passion for timepieces.
Necessary Tools


Expert Techniques
Step-by-step Guide: Creating a Watch Box
Using and Organizing Your Watch Box
- Choose the right watch box: Consider the size and number of watches you have, and select a watch box that can accommodate them comfortably
- Clean and prepare the watches: Before storing your watches in the box, clean them properly to remove any dirt or residue. You can use a soft cloth or watch cleaning solution for this
- Arrange the watches: Place the watches in the box in an organized manner. You can either lay them flat or use watch cushions or holders to keep them in place
- Use dividers or compartments: If your watch box has dividers or compartments, utilize them to separate different watches or watch accessories. This helps keep everything organized and prevents them from scratching each other
- Store in a safe place: Find a secure and dry location to store your watch box. Avoid exposing it to extreme temperatures or direct sunlight to protect the watches from potential damage or discoloration
Frequently Asked Questions for Watch Boxes
How can a watch box be customized to meet individual preferences or needs?
A watch box can be customized in various ways to meet individual preferences or needs. Firstly, the size and shape of the box can be tailored to accommodate the collection of watches. The number and arrangement of compartments can also be adjusted to cater to specific needs.
Additionally, the type of material used for the box can be chosen to align with personal preferences and aesthetics. Options range from luxurious wood, such as mahogany or walnut, to modern materials like carbon fiber or leather. The choice of material can also impact the level of protection and durability provided by the box.
Another way to customize a watch box is by incorporating personal touches or designs. This could include engraved names or initials, a specific logo, or even custom artwork. Some manufacturers offer the possibility to add personal messages or quotes, making the box more sentimental and unique.
Furthermore, the interior of the watch box can be customized to ensure proper care and display of the watches. Soft cushions or holders can be added to securely hold the timepieces in place, preventing any scratches or damages. The inclusion of a transparent glass top allows for easy visibility and showcasing of the watches.
Overall, the customization options for a watch box are extensive and can be tailored to meet individual preferences or needs, providing a personalized and functional storage solution for watch collectors.
How many watches can a typical watch box hold?
The number of watches a typical watch box can hold depends on its size and design. Commonly, a standard-sized watch box contains compartments or slots to accommodate anywhere from 6 to 12 watches. However, larger watch boxes or storage cases are available that can hold up to 24 or more watches. Ultimately, the specific capacity of a watch box is determined by its dimensions and internal configuration.