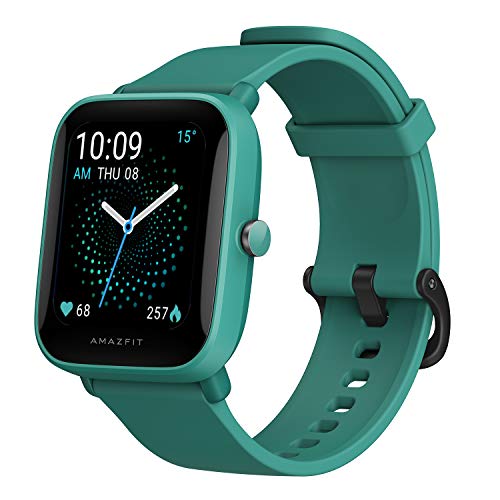
Calibrating your GPS watch is a crucial step to enhance accuracy and reliability in tracking your workouts and navigation. This step-by-step guide is here to help you make the most out of your watch, ensuring you have precise distance, speed, and location data. Get ready to take your outdoor adventures to the next level with a properly calibrated GPS watch!
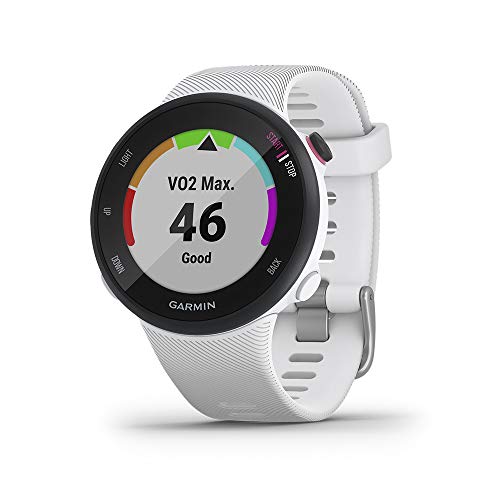
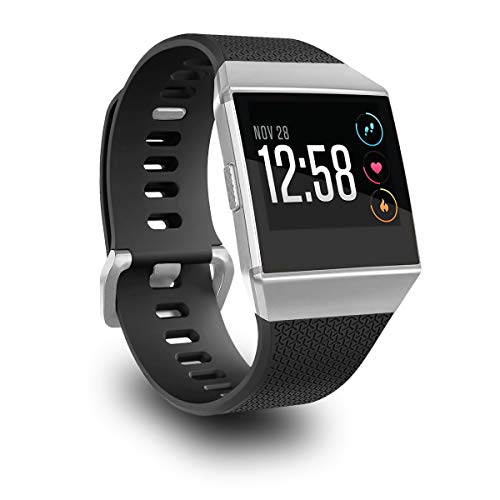
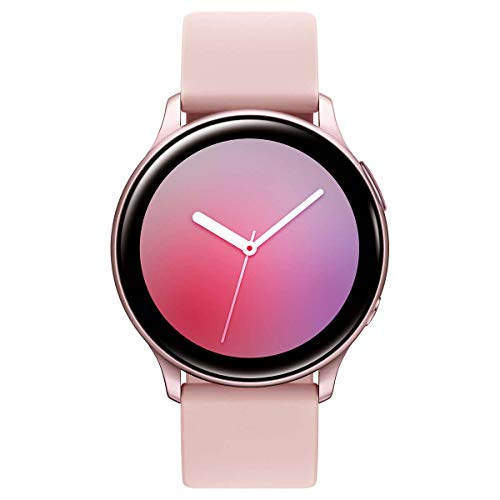
Top-selling GPS watches for athletes
Check for updates
Why check for updates?
Before calibrating your GPS watch, it is essential to ensure that you have the latest firmware or software updates installed. These updates often include improvements to the GPS accuracy and performance of your device. By staying up to date, you can ensure that you are getting the best experience with your GPS watch and avoid any potential issues that may arise from outdated software.
How to check for updates
To check for updates, follow these simple steps:
- Visit the manufacturer’s website: Go to the official website of your GPS watch’s manufacturer. Look for a support or downloads section where you can find updates for your specific model.
- Use the dedicated mobile app: Some GPS watch manufacturers provide dedicated mobile apps that allow you to check for updates directly from your smartphone. Download the app from the app store, install it on your device, and follow the instructions within the app to search for updates.
- Locate the updates section: Once you are on the website or app, navigate to the updates section. This may be named “Downloads,” “Support,” or something similar. Look for the latest firmware or software version available for your GPS watch.
- Download the update: Click on the download button next to the latest update for your device. Make sure you are downloading the correct update for your model. Save the update file to a location on your computer or smartphone where you can easily find it.
- Follow the installation instructions: Locate the downloaded update file and double-click it to begin the installation process. Follow the on-screen instructions provided by the update installer. It may require you to connect your GPS watch to your computer via USB or wirelessly through Bluetooth.
- Complete the update: Once the installation is complete, follow any additional prompts to finalize the update. This may involve restarting your GPS watch or verifying the update on your smartphone.
By following these steps, you can ensure that your GPS watch is running on the latest firmware or software version. This will enhance the accuracy and performance of your device, ultimately improving your overall experience with your GPS watch. Stay up to date and enjoy your outdoor activities with confidence!
Find a suitable location
Find a Suitable Location
- Step 1: Choose an open area with a clear view of the sky.
- Step 2: Stay away from tall buildings, dense forests, or any obstructions that could interfere with the GPS signal.
- Step 3: Head to an outdoor location that is distant from potential sources of interference.
- Step 4: Once you have arrived at a suitable location, turn on your GPS watch.
- Step 5: Wait for your watch to establish a connection with the GPS satellites. This may take a few minutes, so be patient.
- Step 6: Ensure that the signal strength on your GPS watch is strong and stable.
- Step 7: Begin calibrating your GPS watch according to the manufacturer’s instructions or the guidance provided in the user manual.
By following these steps, you will find a suitable location to calibrate your GPS watch. Remember to choose a place without obstructions and interference for accurate and reliable results.
Activate GPS mode
To activate GPS mode on your watch, start by navigating to the settings or options menu. Look for the GPS mode option and select it. This step will allow your watch to start receiving satellite signals, which is essential for accurate GPS tracking. Be patient as it may take a few moments for your watch to establish a connection with the satellites and fully activate the GPS mode. Once the connection is established, you are ready to start using your GPS watch for navigation, tracking, or any other GPS-related activities.
Wait for signal acquisition
Wait for signal acquisition
- Activate GPS mode: Ensure that the GPS mode is activated on your watch. Check the settings or press the designated GPS button.
- Find an open area: Move to an open area with a clear view of the sky. Avoid obstructed spaces like buildings or dense trees, as these can interfere with signal reception.
- Wait patiently: Once in the open area, patiently wait for the watch to acquire a GPS signal. It may take a few minutes for your device to establish a strong connection with the satellites.
Note: While waiting, avoid moving around too much. Sudden movements can disrupt the process of signal acquisition. Stay stationary until a stable GPS signal is obtained.
By following these steps, you ensure that your watch can effectively connect with the satellites and provide accurate GPS tracking.
Start the calibration process
To start the calibration process, first acquire the GPS signal on your watch. Then, navigate to the calibration settings. Locate the option that allows you to calibrate the GPS or sensor. Once found, follow the on-screen instructions and proceed with the calibration process.
Move around
- Begin by finding an open area where the GPS signal can be easily acquired. This can be a park, a track, or any location with minimal obstacles like tall buildings or dense trees.
- Put on your GPS watch and ensure that it is switched on. Make sure it is properly synchronized with the satellites before proceeding further.
- Start walking or jogging at a moderate pace while the watch is recording your movement. Maintain a steady and consistent pace to obtain reliable calibration results.
- Aim to cover a distance of at least 0.25 miles (0.4 kilometers). This will give the GPS watch sufficient data points to accurately calibrate and map your movements.
- While moving, avoid sudden stops or changes in direction, as this may affect the calibration process. Try to maintain a straight and continuous path as much as possible.
- Pay attention to any notifications or prompts on the watch’s display. Some GPS watches might provide guidance or indicators to assist with the calibration process.
- Once you have reached the desired distance, check the watch to ensure that it has properly recorded your movement. Confirm that the distance matches the distance you covered accurately.
- If needed, repeat the process of moving around and calibrating the GPS watch in a different open area. This will help verify the accuracy and consistency of the results.
By following these steps and ensuring you cover a distance of at least 0.25 miles (0.4 kilometers) while moving steadily, you can calibrate your GPS watch accurately and enhance the precision of its measurements.
Complete the calibration
After covering the required distance, stop the activity on your watch and complete the calibration process. To do this, simply tap on the “Stop Activity” button or whatever equivalent option is available on your watch. This will ensure that the recorded data is saved for the calibration process.
Once you have stopped the activity, your watch will prompt you to complete the calibration. Pay attention to any additional prompts or instructions displayed on the screen. Follow these instructions to finalize the calibration.
For example, your watch might display a message like “Calibration in progress, please keep still”. In this case, make sure you remain stationary while the watch adjusts its GPS accuracy based on the recorded data.
After a few moments, your watch should indicate that the calibration is complete. You can then proceed to use your watch for accurate GPS tracking during your future activities.
Remember to follow the specific instructions on your watch, as different models may have slight variations in the calibration process.
Final thoughts
In conclusion, calibrating your GPS watch is a crucial step to optimize its functionality and reliability. It ensures accurate data, making your workouts and navigation more effective. By following the simple steps discussed in this blog post, you can easily calibrate your watch and enjoy precise distance, speed, and location measurements. So, go ahead and embark on your adventures with confidence, knowing that your GPS watch is properly calibrated.
Enhance GPS Accuracy
How to Calibrate the Compass of Your Garmin Instinct
Step-by-Step Guide on How to Use GPS Watches
- Charge the GPS watch before using it: Connect the watch to a power source using the provided cable and let it charge fully to ensure optimal battery life during your activities
- Set up the watch: Follow the manufacturer’s instructions to set up the watch, including choosing your preferred language, date, time, and any other personalized settings
- Sync the watch with your smartphone: Download the accompanying app on your smartphone and pair it with your GPS watch. This allows you to receive notifications, track your data, and synchronize your activities between devices
- Familiarize yourself with the watch’s functions: Spend some time exploring the different features of your GPS watch, such as navigation, heart rate monitoring, activity tracking, and customizable screens. Refer to the instruction manual or online tutorials if needed
- Start your activity: Once you have completed the initial setup, put on your GPS watch, select the appropriate activity mode (e.g., running, cycling, hiking), and press start. The watch will begin tracking your location, distance, speed, and other relevant metrics depending on the chosen activity
Frequently Asked Questions about GPS Watches
Do GPS watches have heart rate monitoring capabilities? How accurate are they?
Yes, GPS watches often come equipped with heart rate monitoring capabilities. These watches use optical sensors or chest straps to measure heart rate. The accuracy of heart rate monitoring on GPS watches can vary. Generally, optical sensors on the back of the watch use LED lights to detect blood flow and estimate heart rate. While they are quite accurate for most individuals, factors like skin tone, hair, and fit of the watch can affect accuracy. Chest strap monitors tend to be more accurate as they directly measure electrical signals generated by the heart. However, it’s important to note that accuracy can still vary based on factors like movement and position of the strap. Overall, GPS watch heart rate monitors provide a convenient way to track and monitor heart rate during physical activities, but for highly accurate readings, medical-grade monitors are recommended.


